
Build a Cutting Board
Listed below are the minimum materials needed to create a 7.5in x 12in Cutting Board from the GETTING STARTED DIY KIT, generally assuming precut wood is being used.
| Materials Required | Minimum Tools Required | Time + Cost |
|---|---|---|
|
- Wood, generally 2 inches thick (pick your own measurements!)
Maple, Walnut, Mahogany, Cherry, Purple Wood, various Hardwoods. - Wood Glue - Clamps - Sander - Sanding Paper: Two sheets each: 80 grit, 120 grit, 220 grit, and 320 grit. |
- Sander - A power saw is helpful (if you have some type of power saw (Miter Saw, Table Saw, Circular Saw), it will speed the process drastically. |
This project can be completed in one day. I recommend planning the biggest time allocation for the sanding process. Total minimum cost to begin: Under $50 HOWEVER, if you buy the electrical orbital sander, you will drastically improve your efficiencies but it will cost at least $50 more. |
STEP 1. Decide the Design
Cut and prep the wood. If you have pre-cut wood that is all the same measurements (see Cutting Board Getting Started DIY Kit for links to precut wood to order!)
Arrange your wood in the design you’d like, so that when you start gluing, the process is quick and organized.
Make sure you have a surface underneath to protect from the wood glue that will drip off! I like to start on Bissel clamps (in the DIY kit link above) and glue the wood together on the clamps.
STEP 2. Level as You Go

I like to level up the sides as I go along -I highly recommended doing this if you do not have a saw! Use some sort of straight object (preferably not wood so it doesn’t glue to the cutting board, but if you have to use wood apply painters tape or plastic to it as a barrier.)
If you don’t have a saw and are using this technique, you will need to do it after each piece of glued-wood you attach. The glue can dry quickly so you will need to stay on top of it!
STEP 3. Glue
Apply the wood glue on one side of each piece of wood. Make sure to rub it in so that the glue covers ever corner and edge of the side of the wood! Use your finger or a paint brush

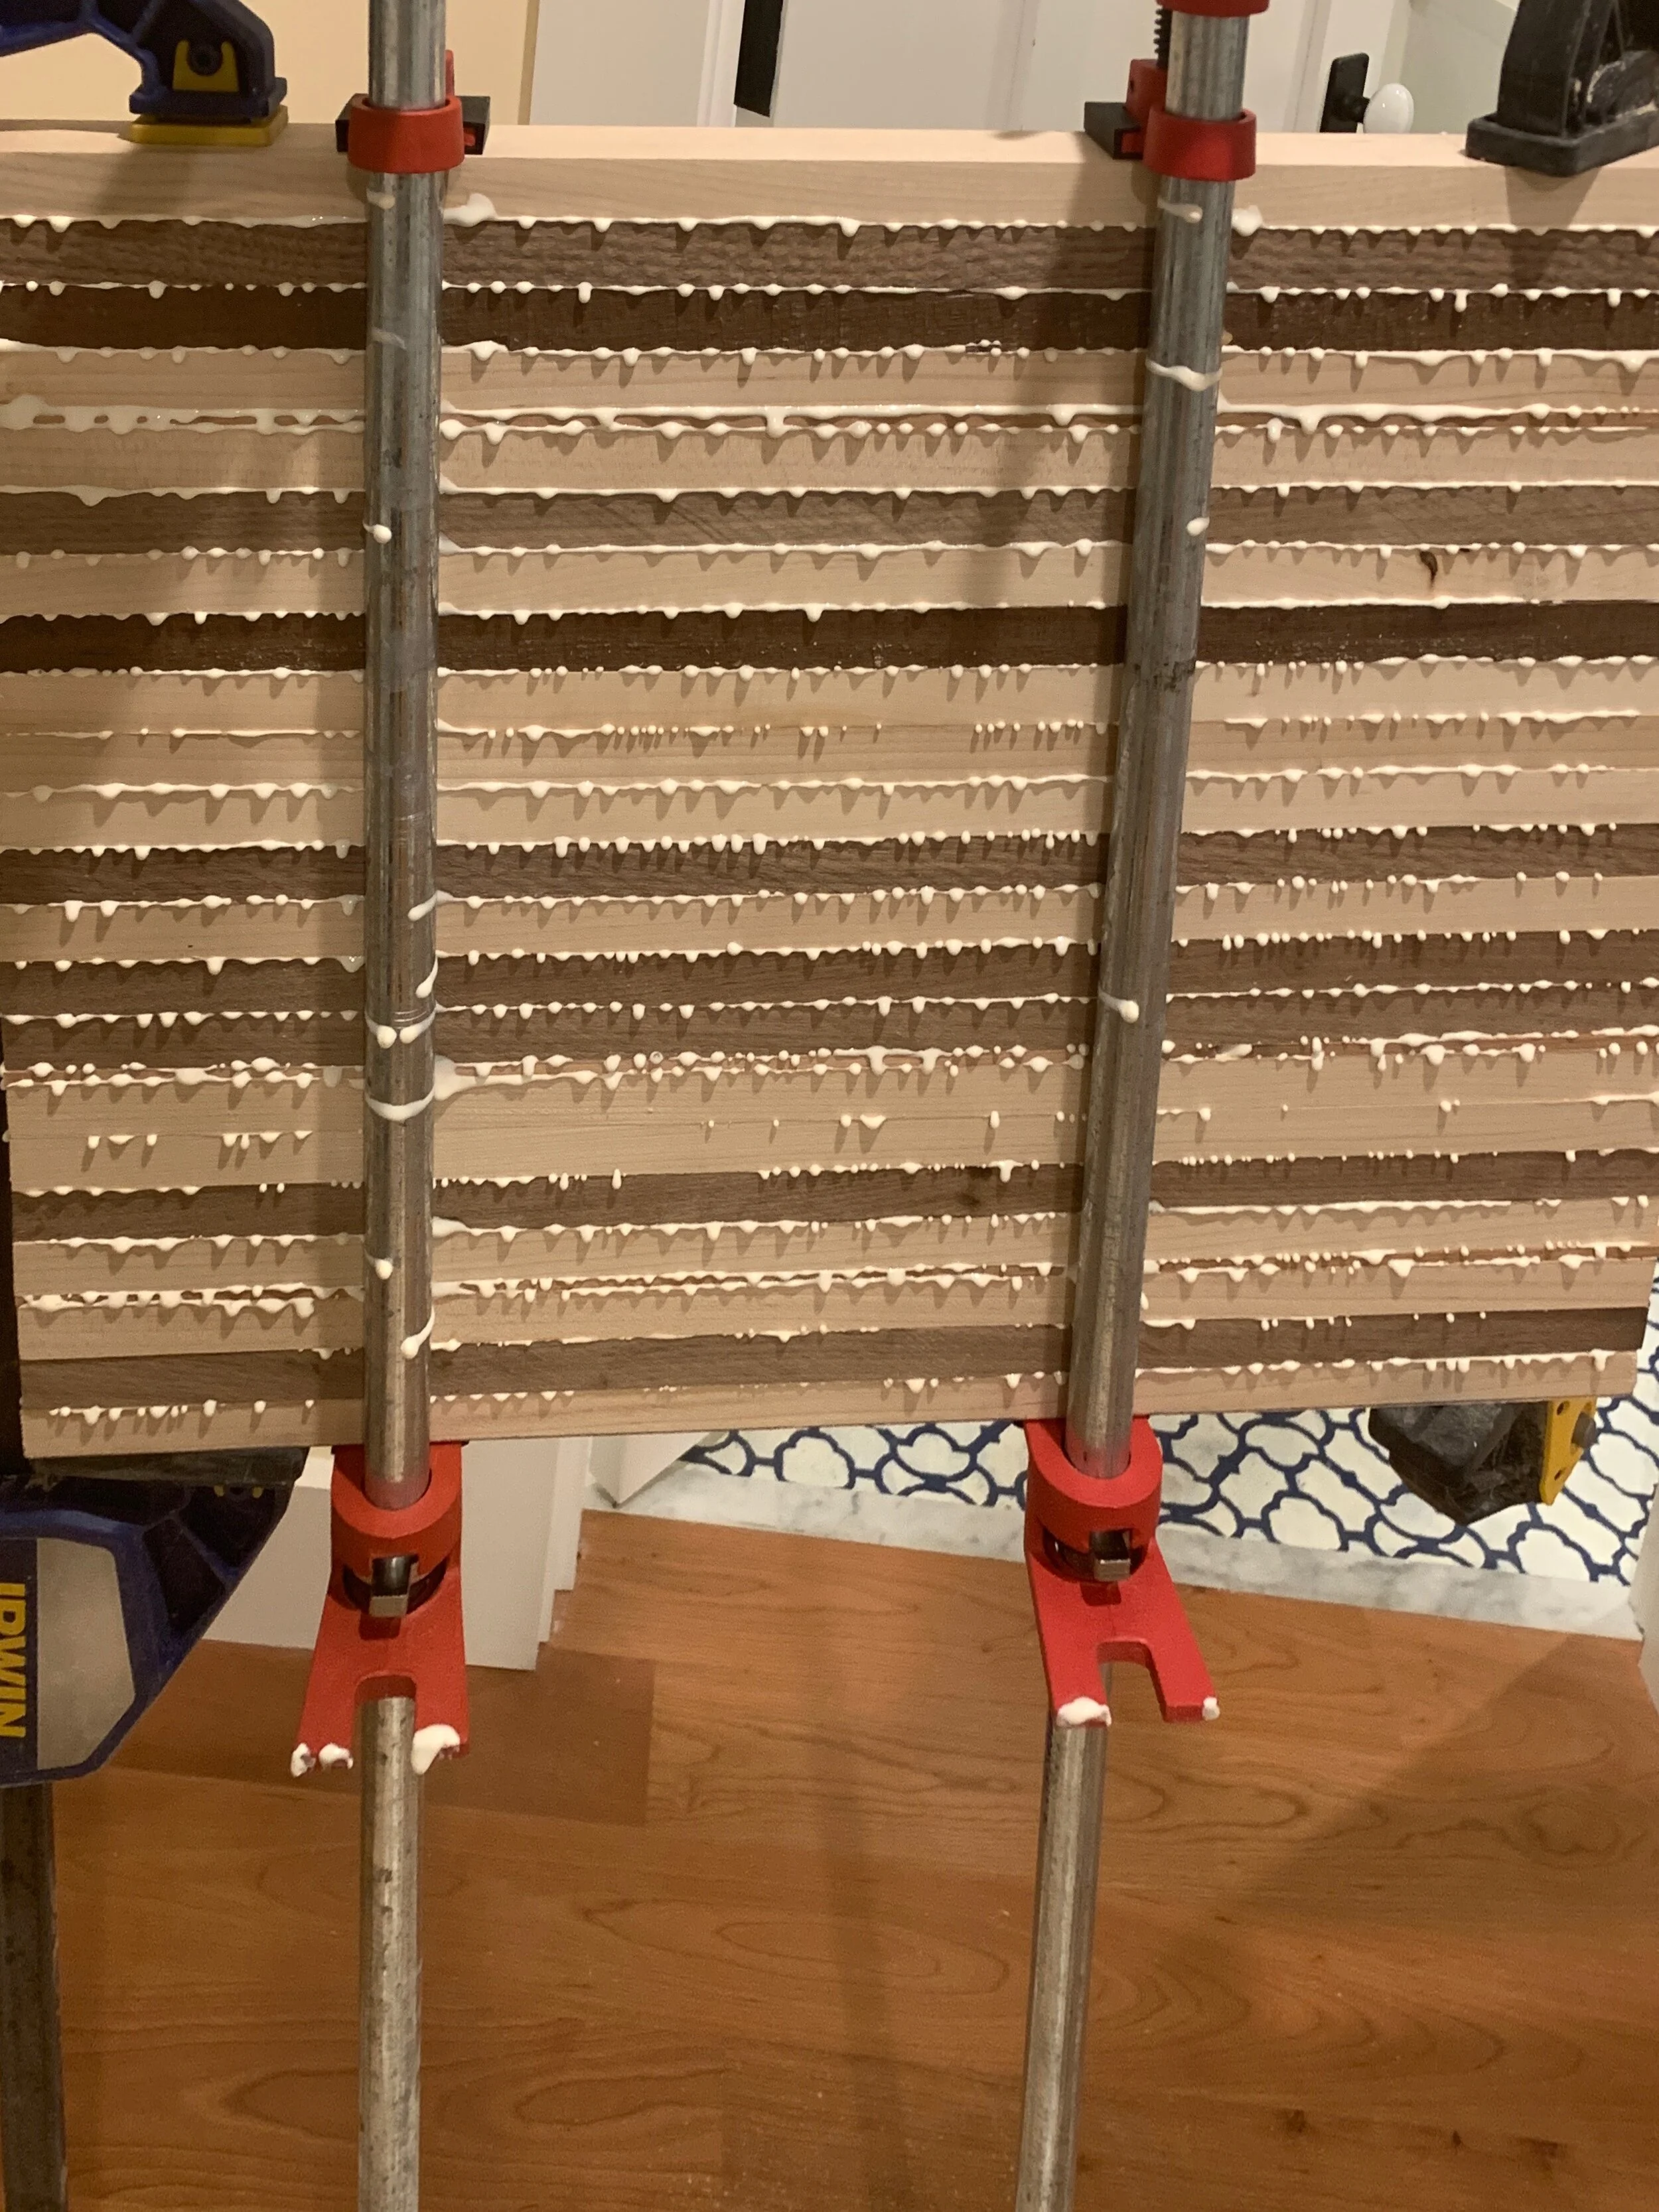
STEP 4. Clamp and Let it Dry
Clamp the wood together and let it sit for at least 2 hours! Glue WILL come out of the seams in between the wood pieces, so make sure you have newspaper or something underneath to protect your surfaces when the glue drips. Some wood glues dry in ~20 minutes, so just make sure to clean up as you go and keep the space controlled!

Optional - wipe off as much excess glue if you prefer!
STEP 5. Prep for Sanding

After the glue has dried, remove the board from the clamps and prepare to start sanding! Always start with the lowest grit for sanding. In this case, I recommend 80 grit to really scrub off the excess glue. This is a key part in the process - make sure to remove all the glue, otherwise it will show through as a darker spot once you apply the oil and wax at the end.
STEP 6. Sanding (Includes 3 sanding steps!)
*IF YOU HAVE AN ELECTRIC SAW, THIS WOULD BE WHEN YOU CUT OFF THE EXCESS WOOD OR EVEN THE EDGES.
1) Sand the glue off with 80 grit. Then move up to 120 grit. After 120, spray water or wipe down the board with water. Don’t soak, simply get it wet enough that it’s not dry. This step will help when you go to clean the board after the first couple uses and prevent the wood from pilling. This process is called “raising the grain”.
2) Sand the cutting board with 220 grit. After the 220 grit sanding, again apply water to raise the grain.
3) Final sand will be with the 320 grit sand paper. Get your cutting board edges smooth and rounded (if you prefer). Then wipe away the sawdust with a paper towel.
Get ready to apply the oil and wax!
Step 7. Oil + Wax
Apply the oil to the cutting board with a rag or paper towel, and rub all over the edges, faces, and ends of the board. Let it sit! You can let it sit with the oil on it for as long as you’d like.
Why oil is important: Oiling a cutting board prevents the wood from drying, which is ultimately why cutting boards crack, split, and break. You’re actually supposed to upkeep cutting boards by applying oil every couple months or so to improve the longevity.
Why wax is important: Waxing a cutting board is necessary to prevent the cutting marks going deep into the wood. The wax acts as a barrier layer that keeps the cuts from knives minimal and less noticeable. So the more oil and wax, the better!
Step 8+
Ongoing maintenance! Make sure to apply oil several times in the first week to first couple months of a new cutting board (and pass this knowledge on to new cutting board owners if you choose to gift one!) Apply the wax whenever the cutting board is taking in knife cuts easily (roughly every 6 months).
Oh you fancy?!
If you enjoy building cutting boards, next steps to streamline processes or add more character would be:
using electric sanders + electric planers for glue removal and leveling,
routers for juice grooves and designs.